Using Wise Pelican to Create the Facebook Customer List Custom Audience
Using Wise Pelican to Create the Facebook Customer List Custom Audience
In order to utilize this feature, you will need to have a paid Wise Pelican subscription of any level. You can obtain a paid subscription at https://app.wisepelican.com/account/subscription
If you do not already have one, you will also need to have a facebook business manager and ad account. Instructions for creating that are available here: https://help.wisepelican.com/knowledge/creating-a-facebook-business-ad-account
Once you have a paid subscription, you’ll see that you now have access to a “Create Facebook Audience” button.
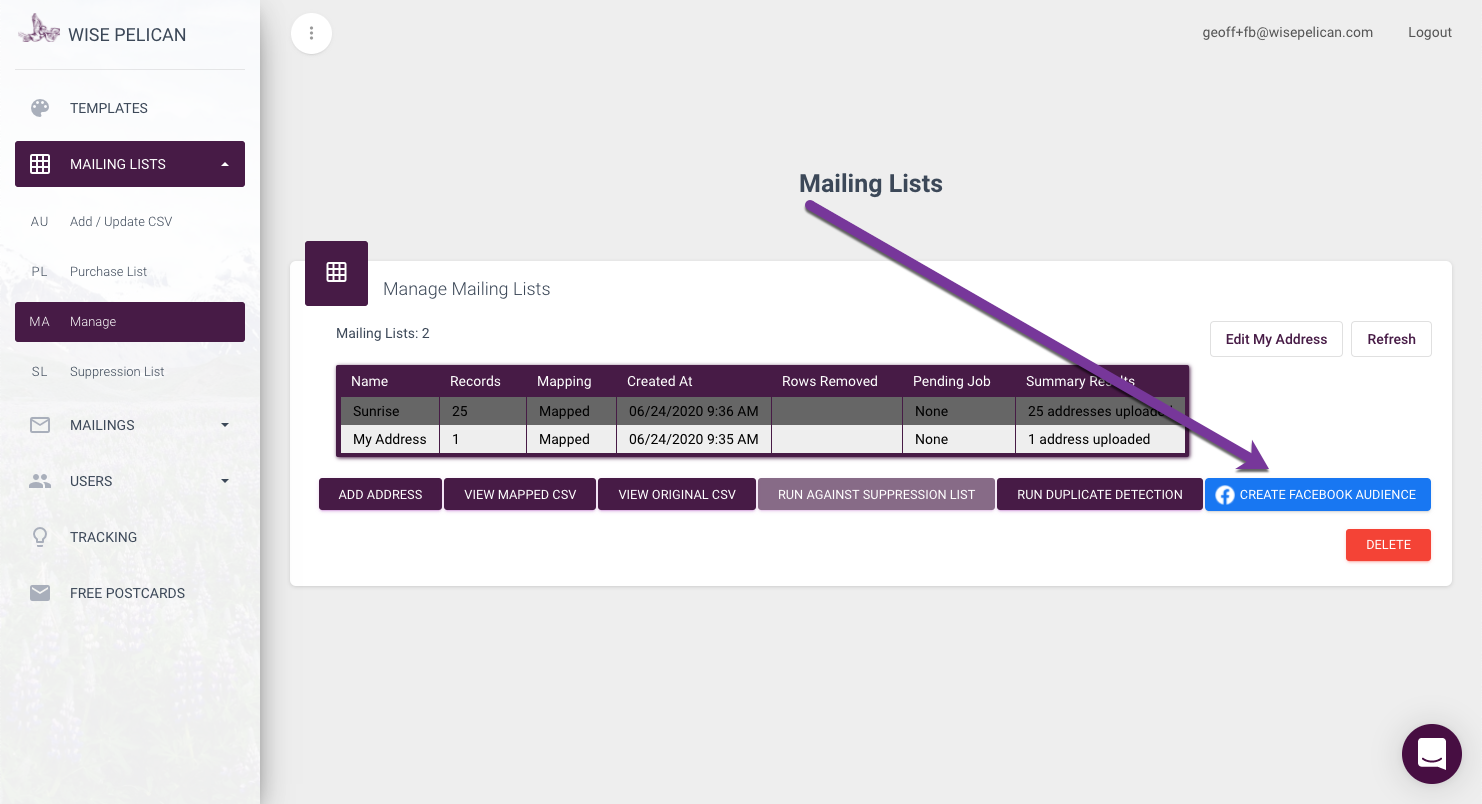
Select any list and click that button. If this is your first time, you’ll be asked to grant Wise Pelican permission to create the audience on your behalf.
Once authorized, you’ll be able to name your audience and select which Facebook Ad Account you’d like the audience to be pushed to (if you have several).
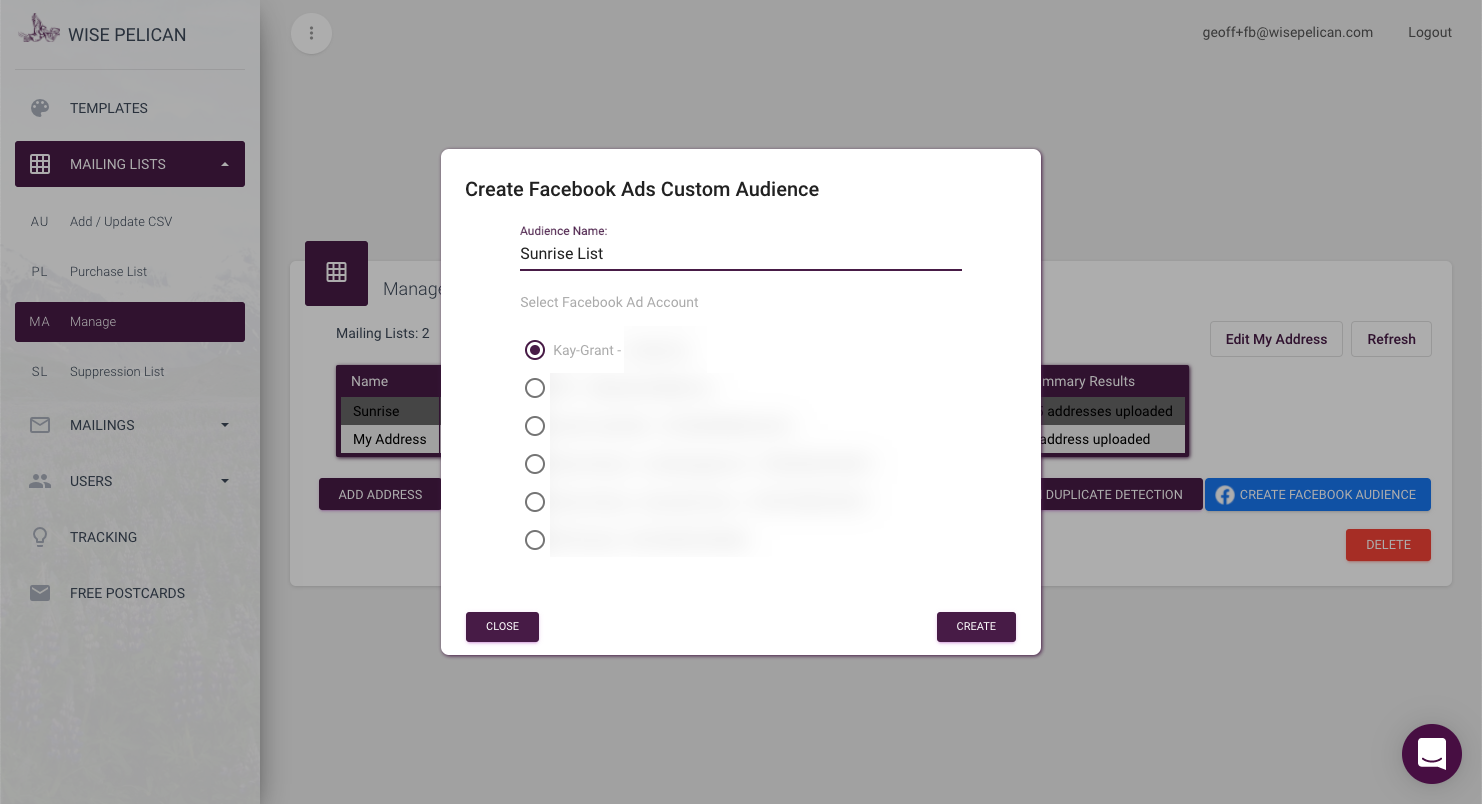
Press “Create” and you’re done!
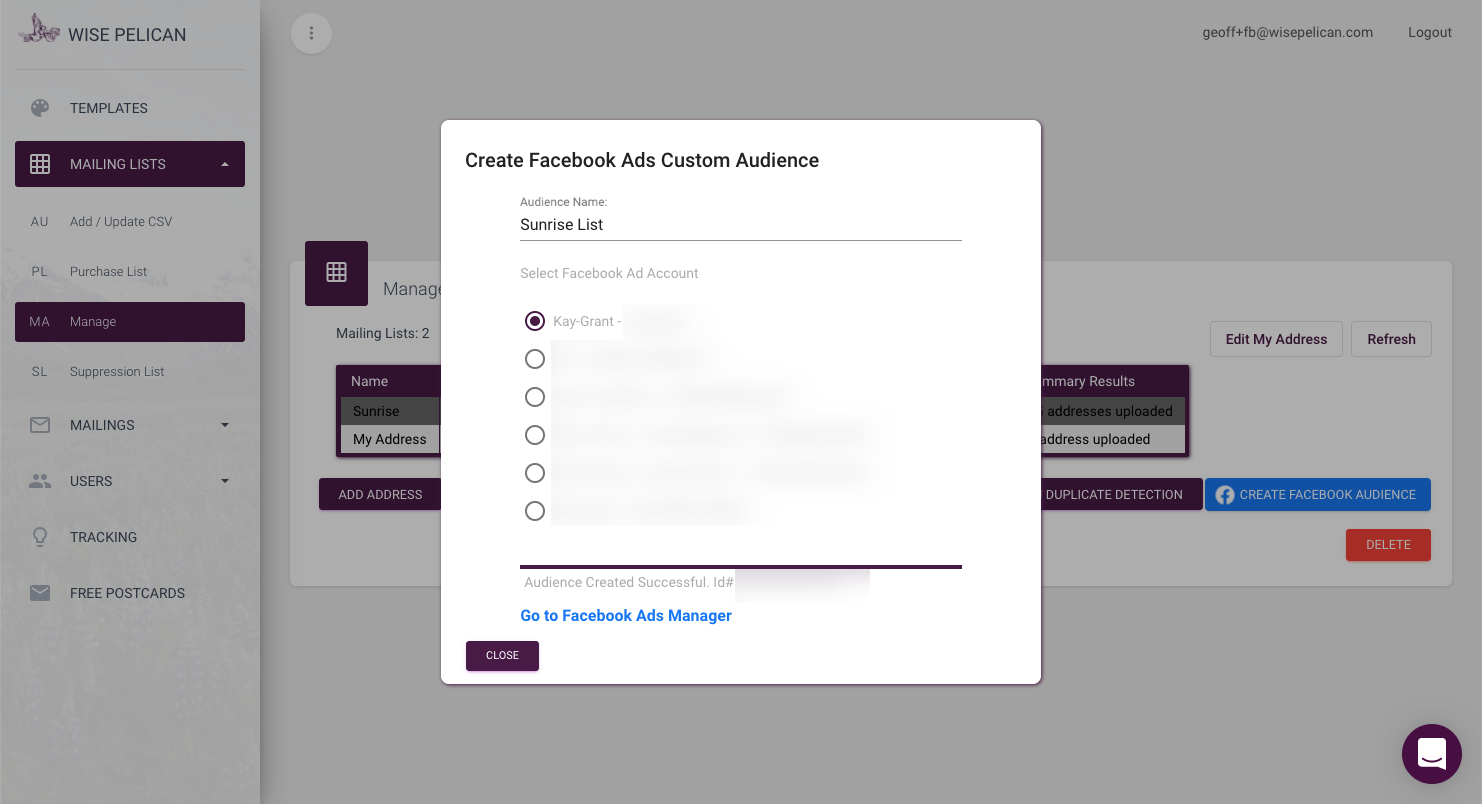
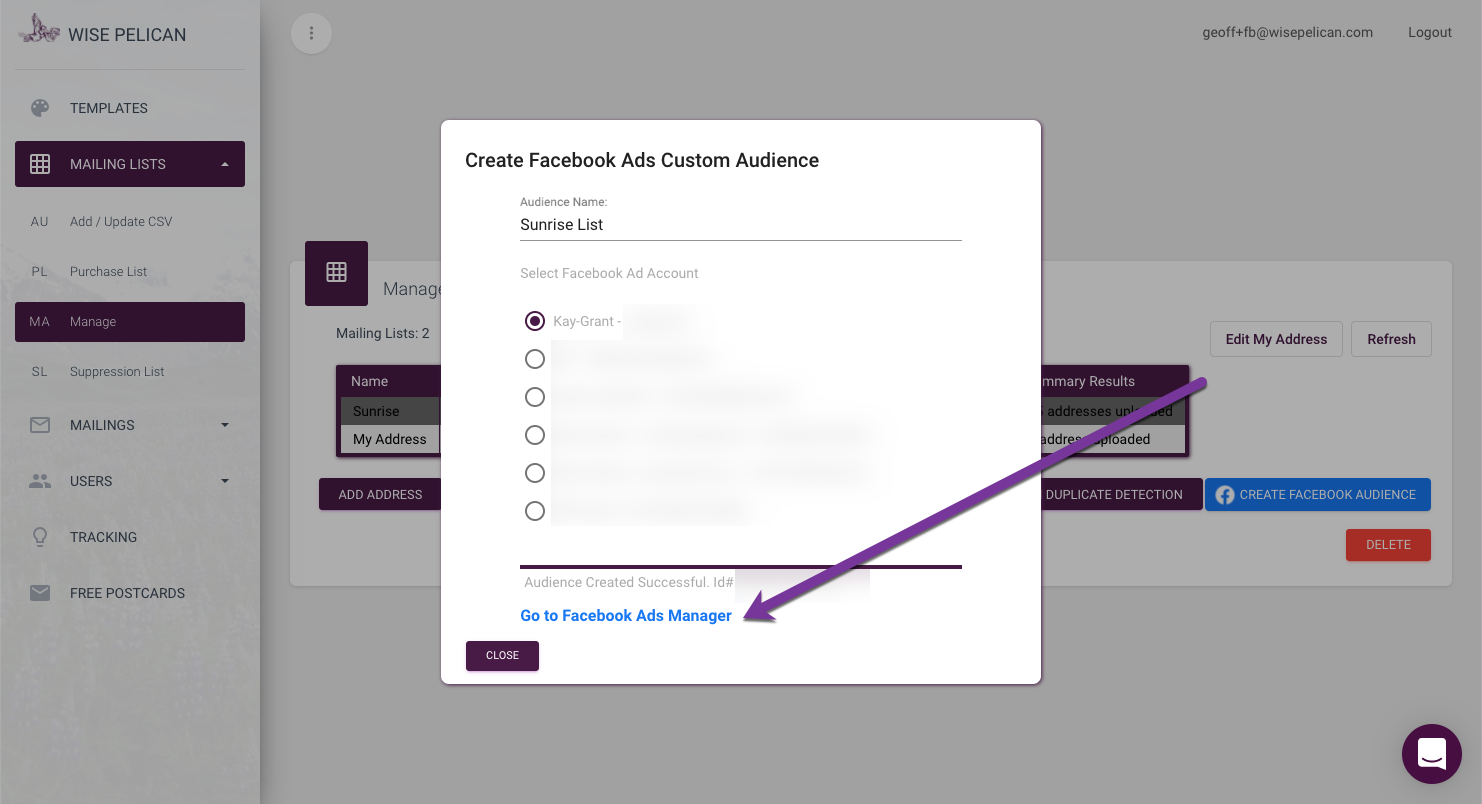
From here you can go directly to the ads manager for your account.
Creating the Facebook Ad From a Post
Please note that when using the “Boost Post” functionality inside of Facebook and selecting that the ad is for housing, Facebook seems to sometimes allow you to choose Custom Audiences to boost to and other times not. The best way is to create a new campaign is from the Ad Manager.
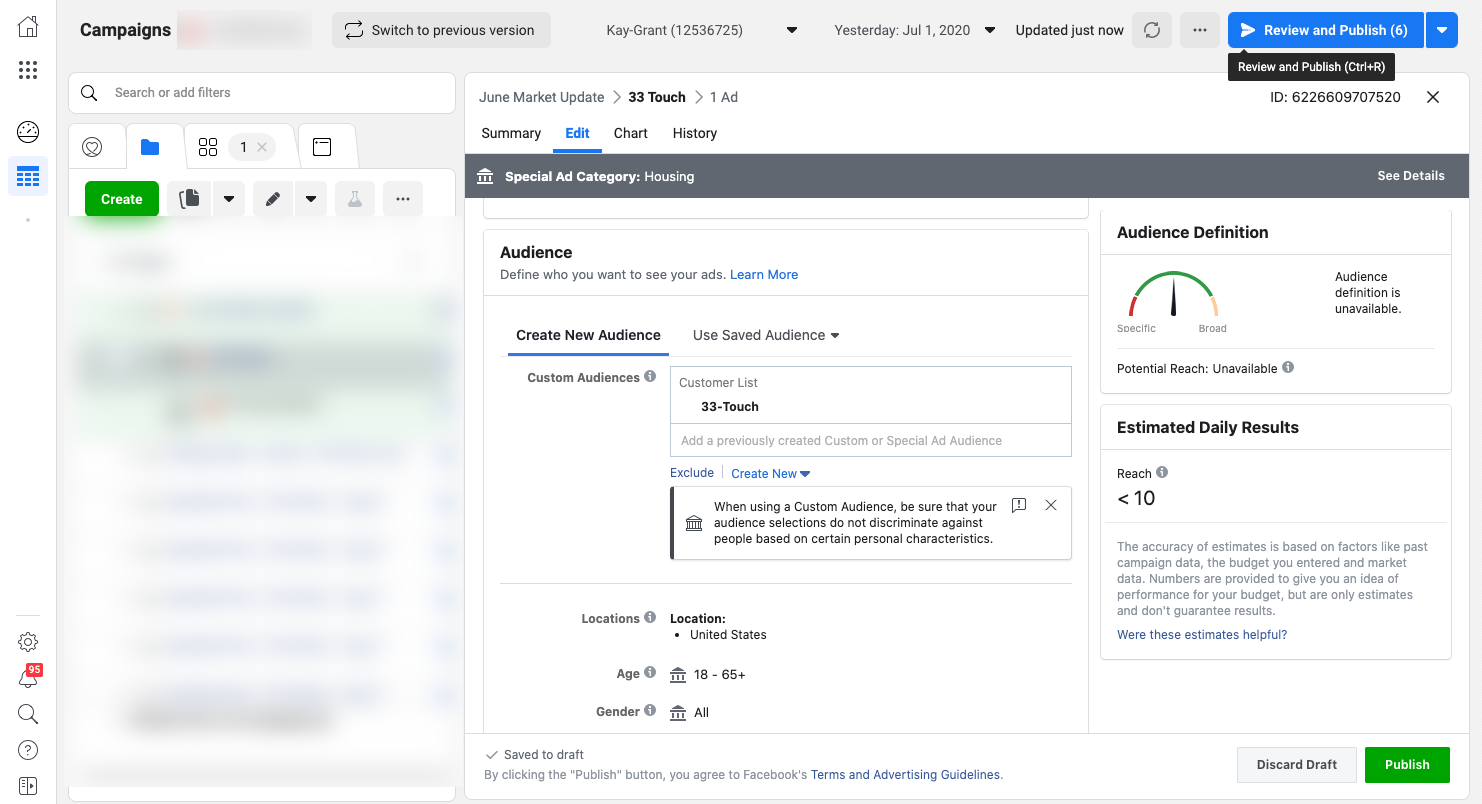
Once you’ve create a new campaign, you’ll go into the Adset and modify your audience to the Custom Audience you previously created.
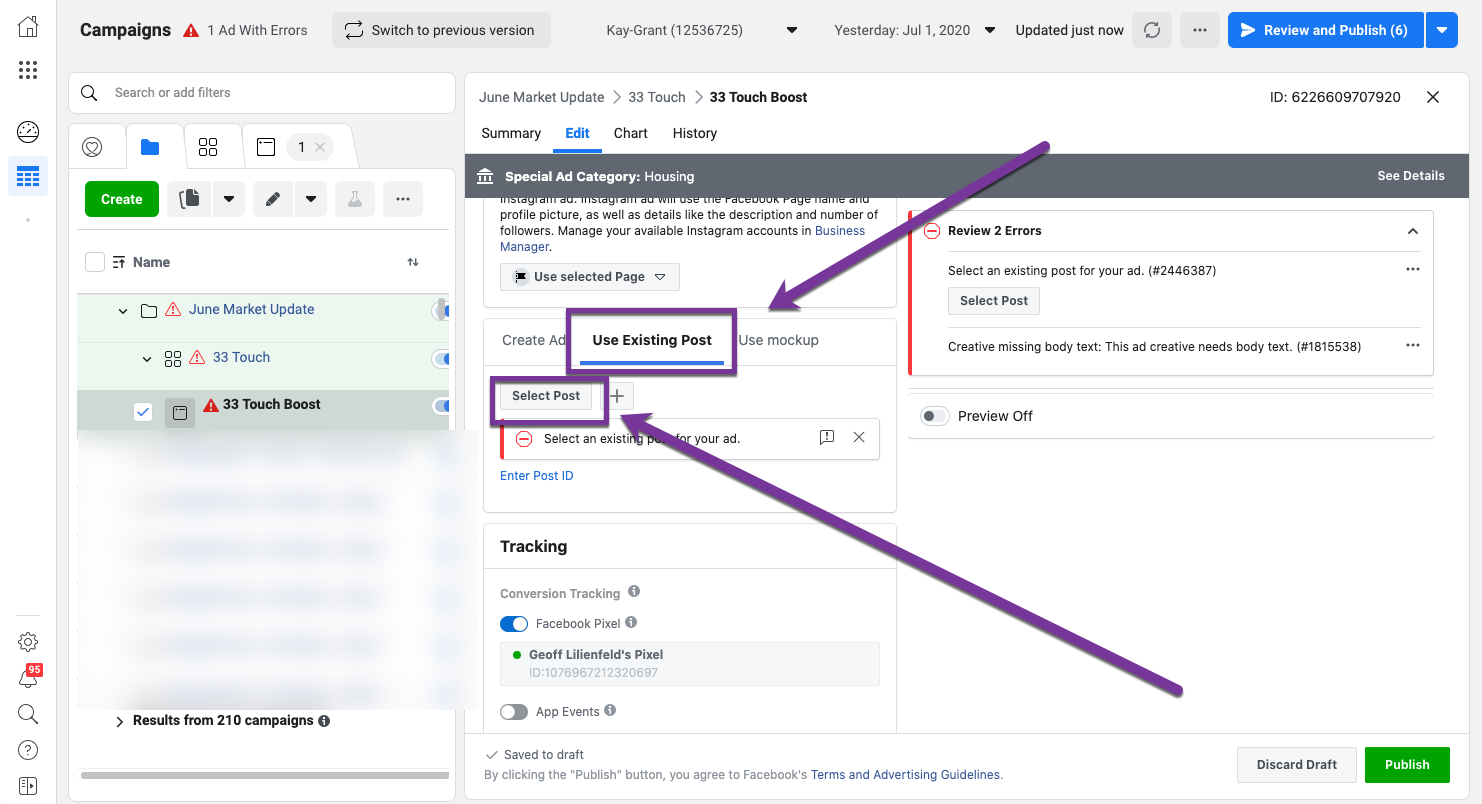
For the ad itself, you’ll select “Use Existing Post” and then “Select Post” to “boost” the post you already created.
 Did this answer your question?