Using Facebook Custom Audiences for Real Estate
Facebook provides an excellent platform for reaching prospective clients and staying in front of your database. Some of the ways that Facebook and be used are better known than others. For example, boosting posts and consistently posting about market conditions is a common practice for real estate agents. However, being able to target custom audiences using the Customer List feature (lists that you provide Facebook) is still a relatively unknown feature of Facebook, and when utilized correctly, can yield an incredible ROI (return on investment) for your real estate business.
In this post, we will review what Facebook Customer Lists and Custom Audiences are, how they can help, and the best practices to maximize the benefits.
What Exactly are Customer Lists
The Customer List option of the Custom Audiences allows you to upload a list of people that you would like to target via Facebook ads. This list should include as much information as you have but does NOT require that know a person’s email or phone number. Name and address is enough. The more data you have, the better Facebook will do when it comes to matching.
Once you have your “Customer List” uploaded as a Custom Audience, you can use that audience when boosting a Facebook post or when creating an ad in the Facebook Ad Manager.
Why is this useful?
It’s useful for a couple of reasons:
It allows you to target campaigns across multiple channels / mediums. Let’s say you mail a postcard advertising that you just listed a property. You can target the same individuals on Facebook with a similar message.
It allows you to target individuals that you otherwise couldn’t due to the Special Ad Audience Housing restriction. In 2019 Facebook started requiring that all ads for selling housing are identified as such. Once identified, the advertiser is no longer able to target based on gender, age, or zip code. The latter makes it extremely difficult for real estate agents to target homeowners in the same geographic location of the home they’re selling. By uploading a “Customer List,” you are able to target the exact individuals you would like to target.
This sounds great! How do I do it?
You can create these Customer Lists on your own from the Audiences Manager in Facebook or if you have a Wise Pelican account with a subscription plan (Silver or higher) you can push your lists from Wise Pelican directly into Facebook.
We’ll look at both options starting with performing it manually.
Creating Facebook Customer List Custom Audiences from the Facebook Audience Manager
If you prefer following a video, please click on the tutorial below:
The first thing you’ll do is navigate to the Facebook Audience Manager from your Business account. If you don’t already have a business account, create one here: https://www.facebook.com/business/ads
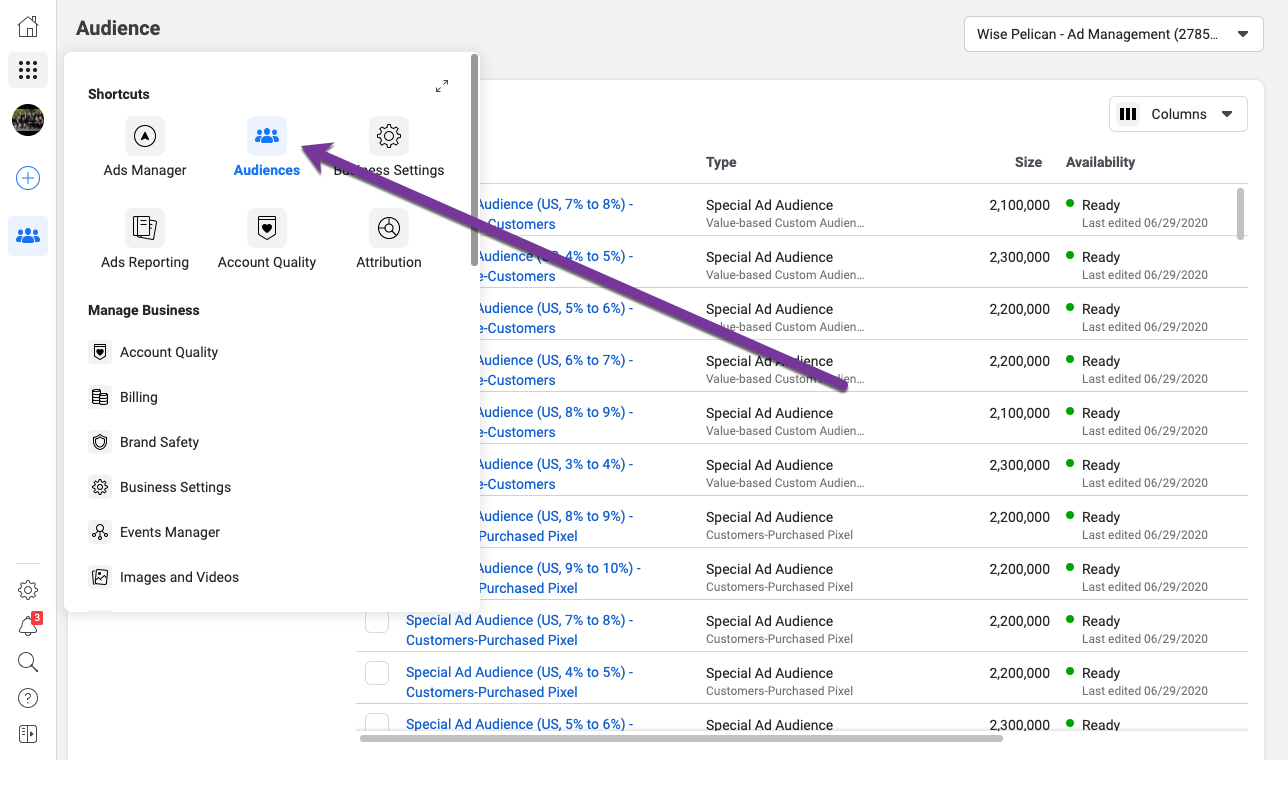
Once you’re in the Audiences Manager, you’ll click the Create Audience button
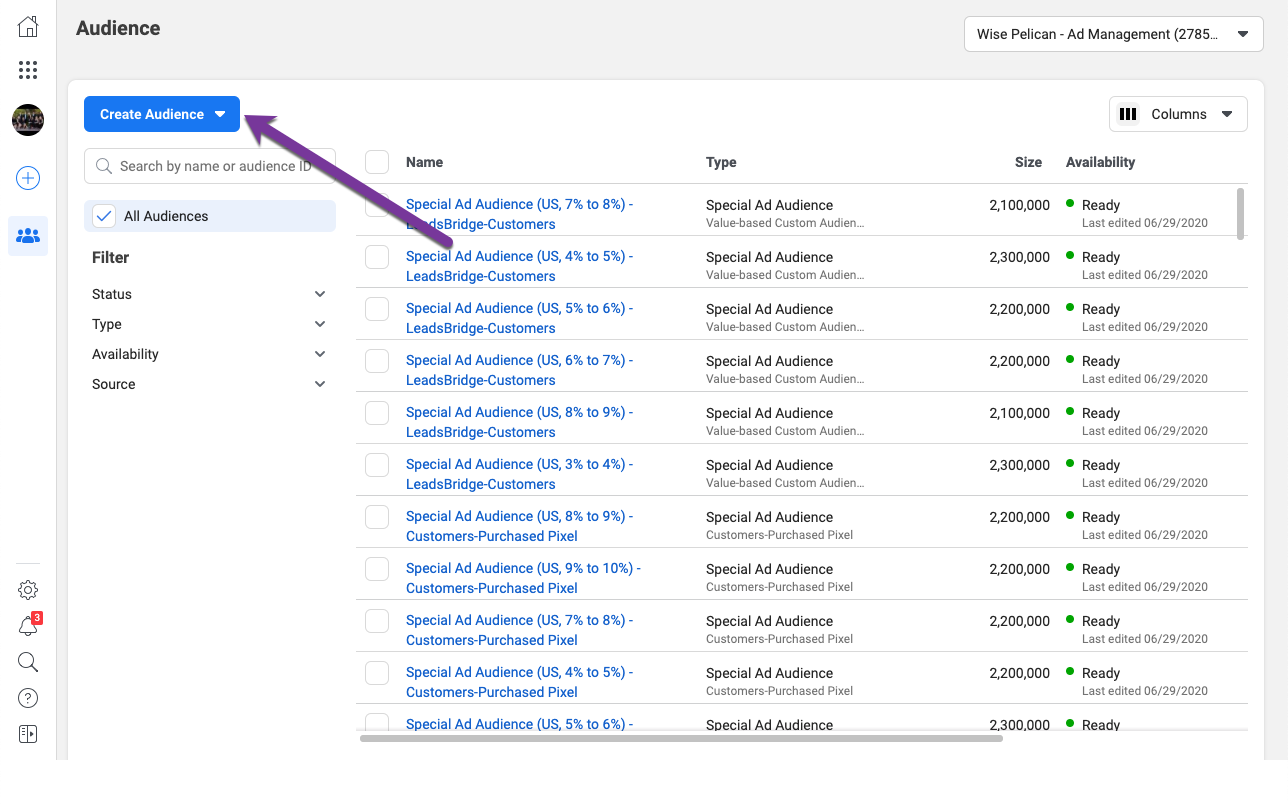
And select the Custom Audience Option
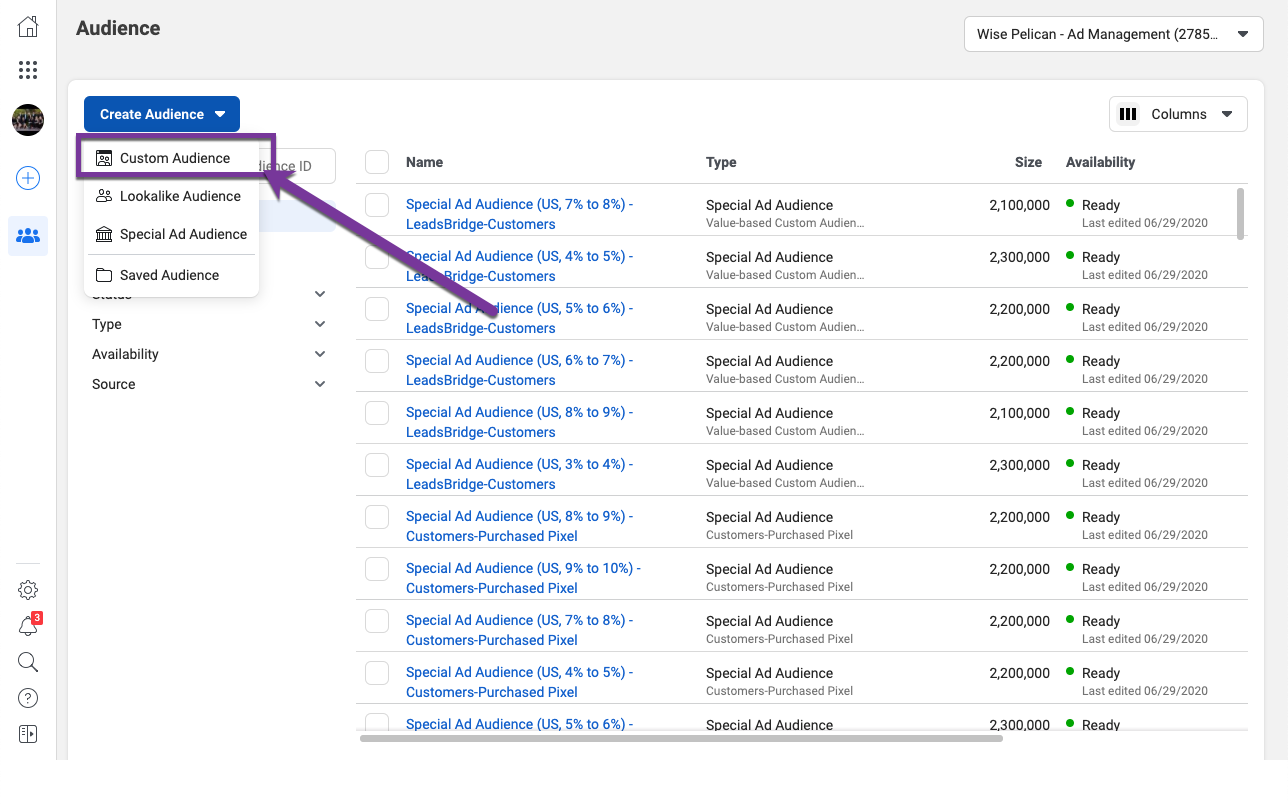
On the next screen you’ll select “Customer List”
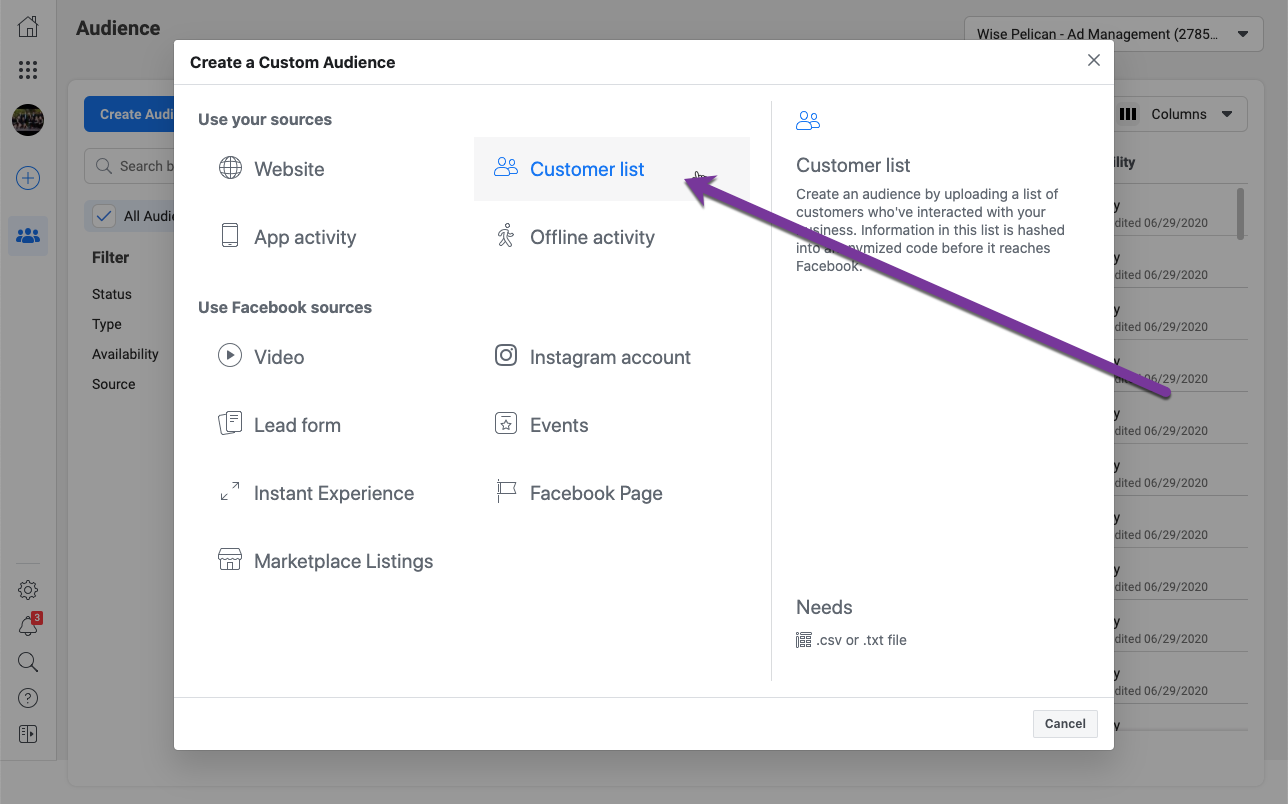
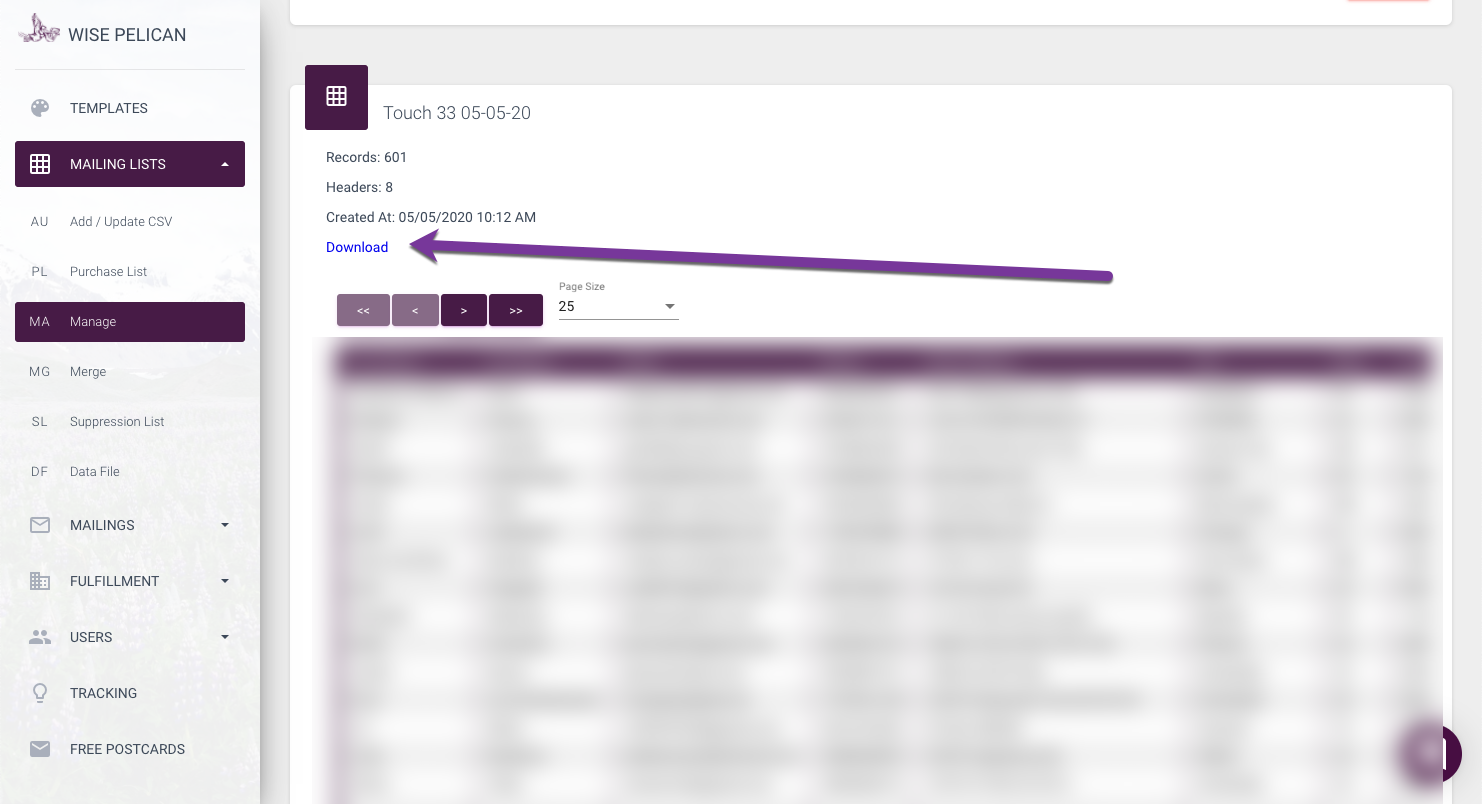
You will need to have a csv file of your customer list. If your list is inside Wise Pelican, this can be downloaded from the Manage Mailing Lists screen at https://app.wisepelican.com/admin/mailing-list/manage
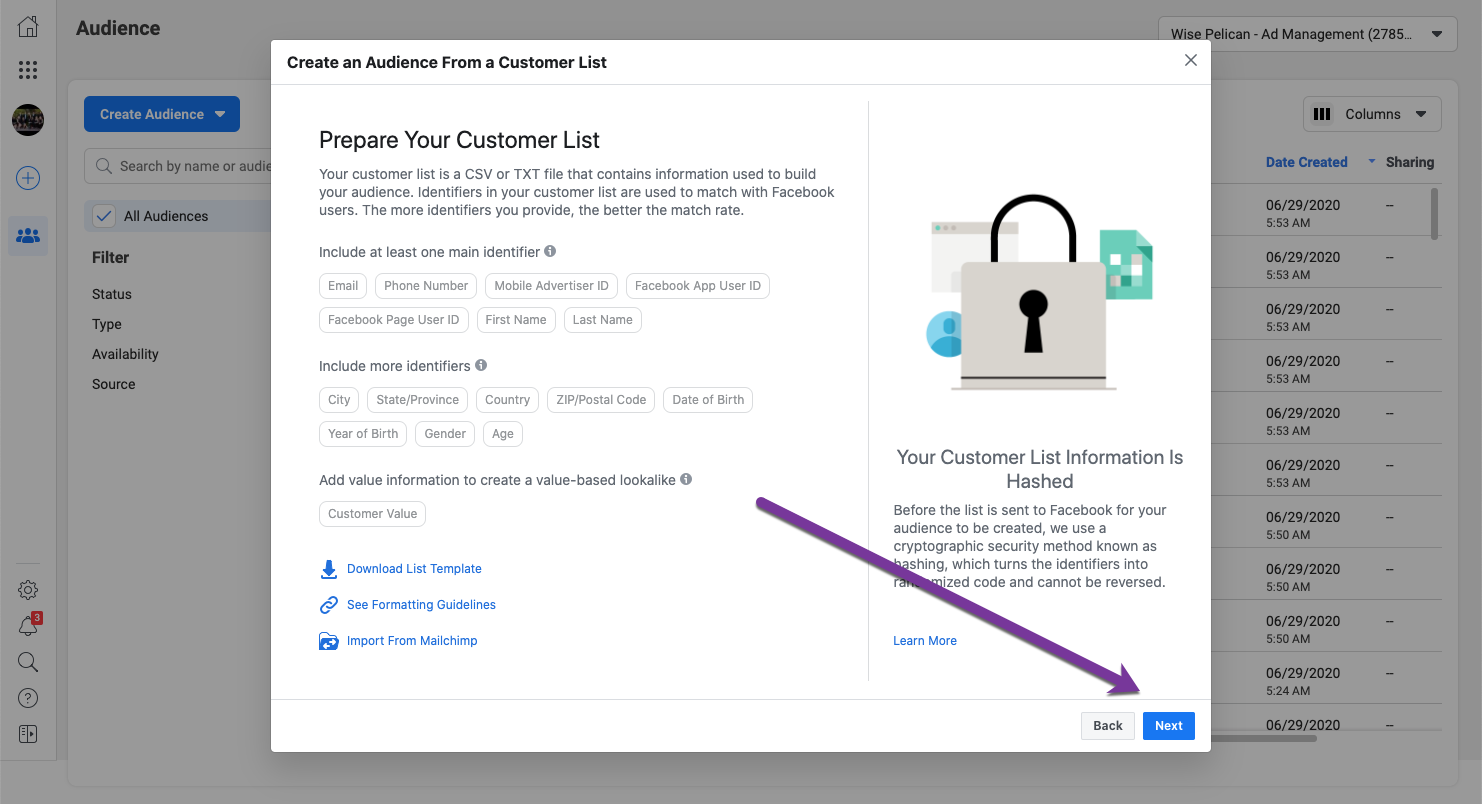
Click next on the next Facebook screen
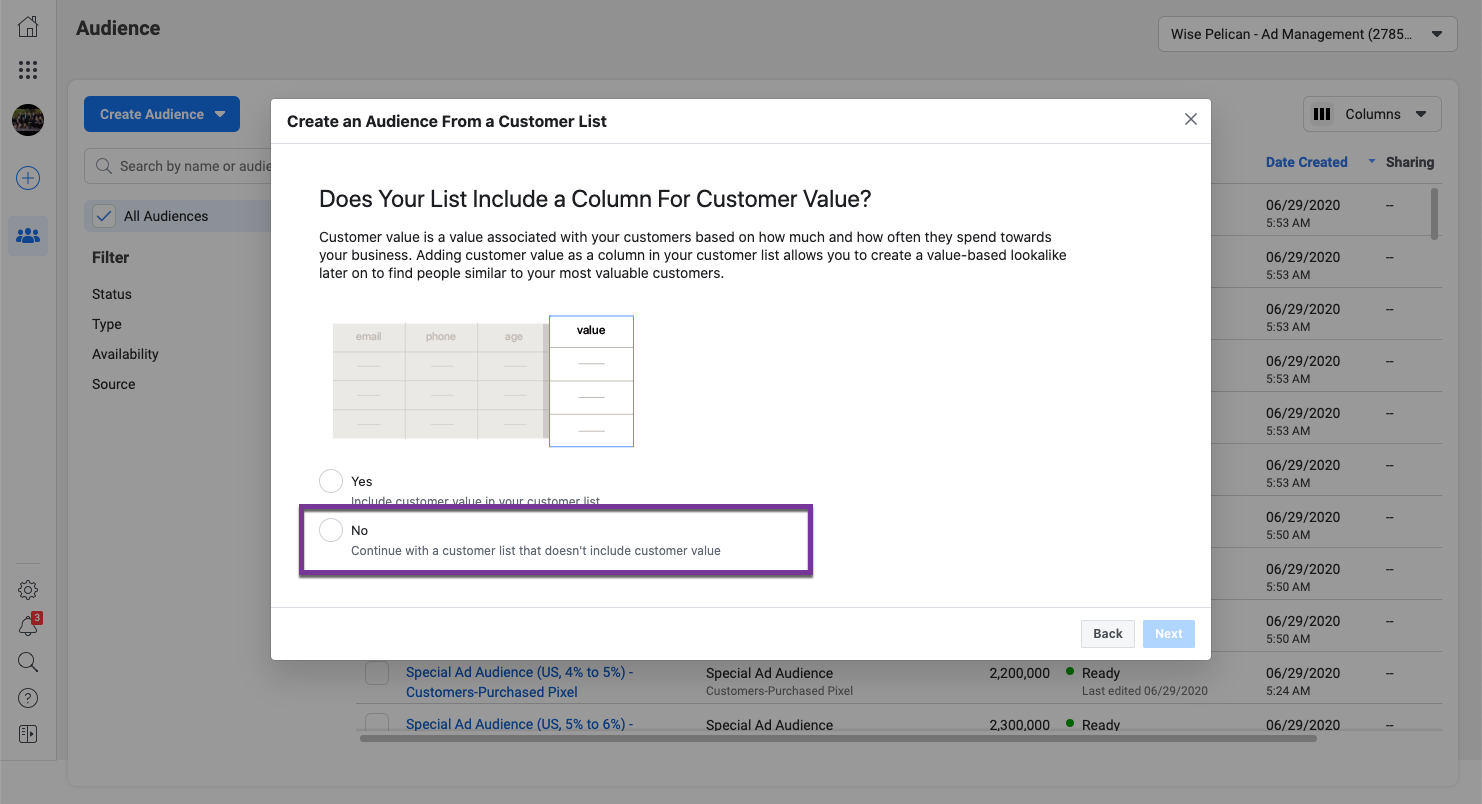
On the screen that asks if you have a Column for Customer Value you’ll select No
Now we’ll upload our file
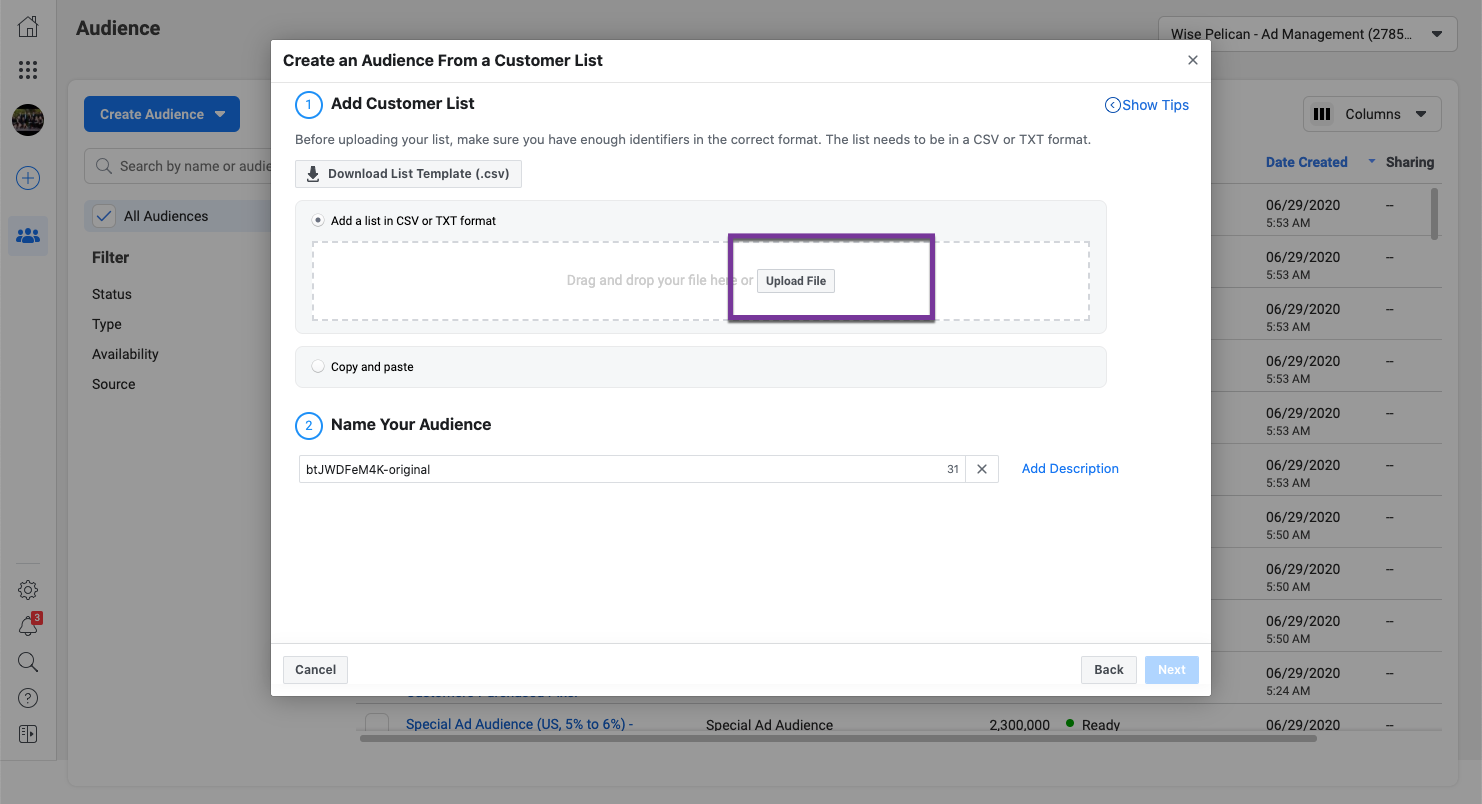
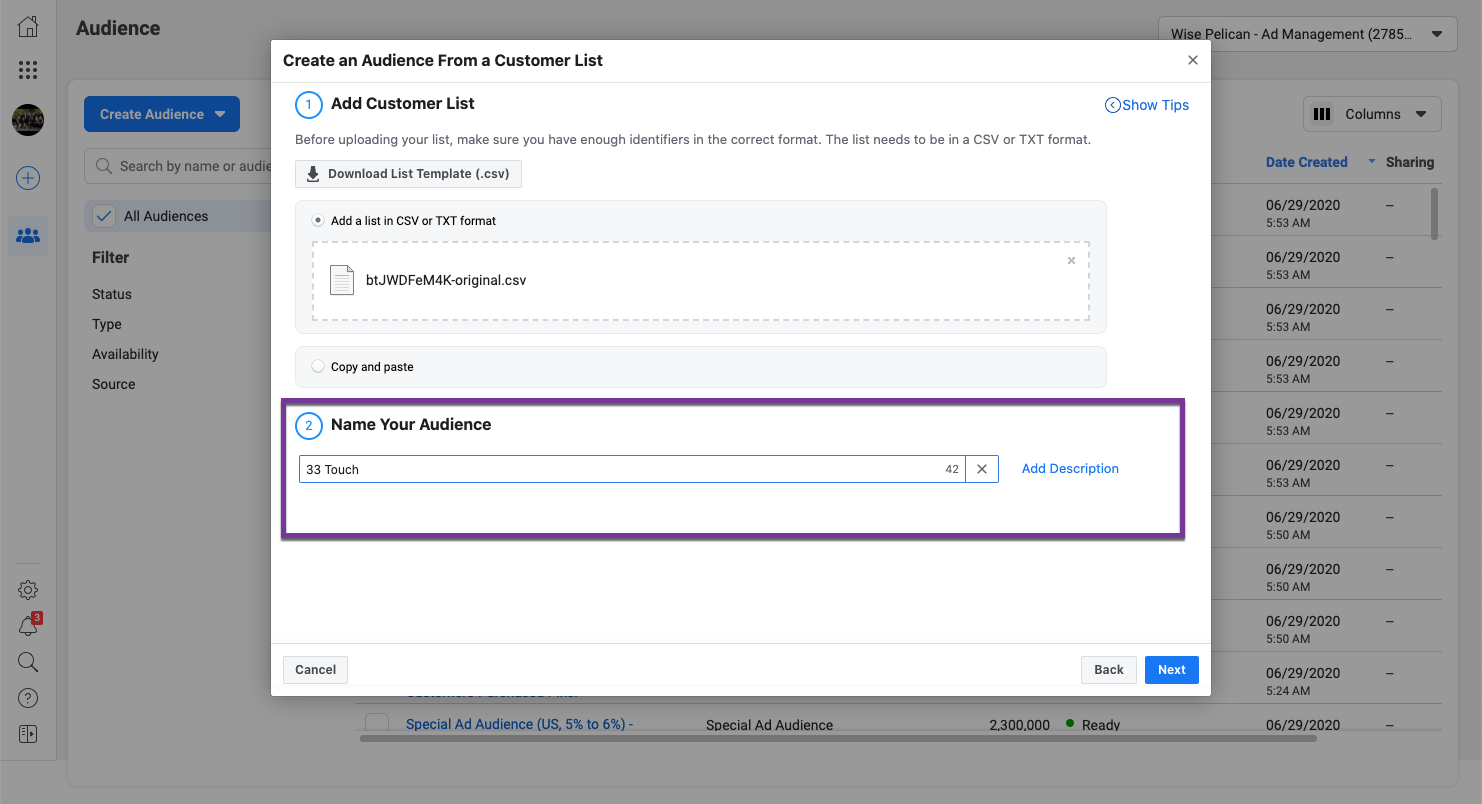
And name the audience
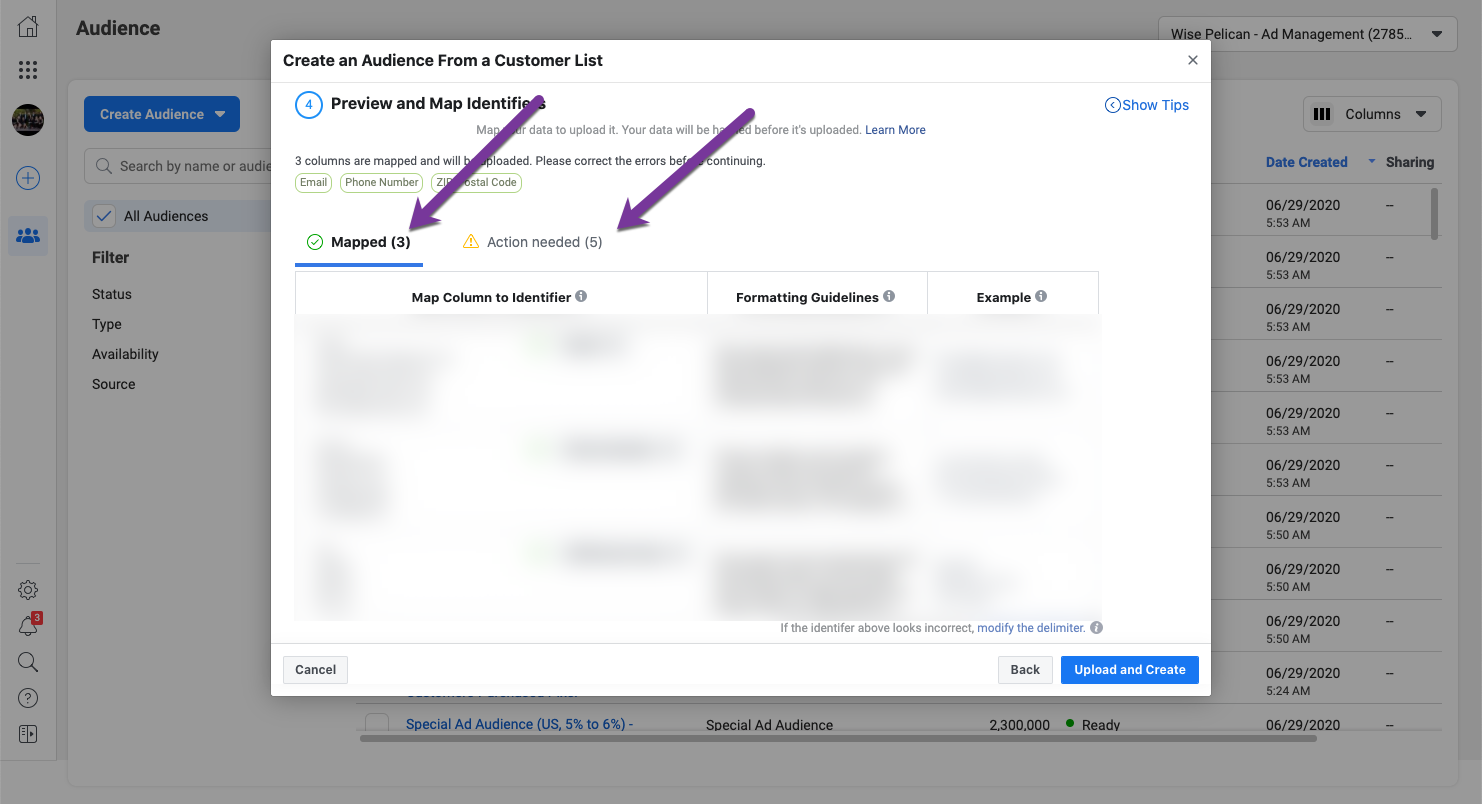
Make sure to check both the mapped tab as well as the “Action Needed” tab to map all of the possible fields. (Note that Facebook wants just about everything but the physical address. Name, City, State, and Zip code are enough.)
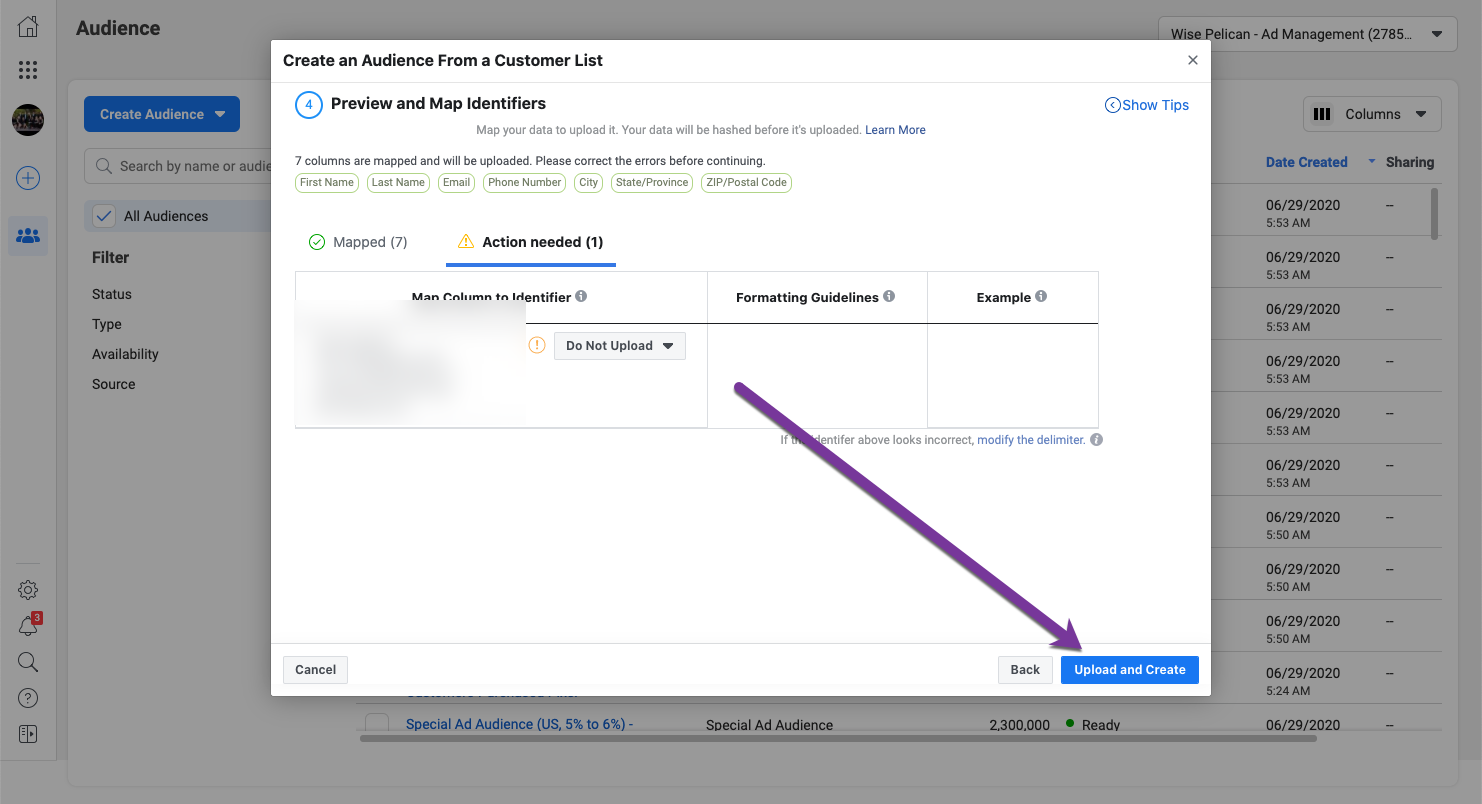
Once you’ve mapped all of the fields you’d like to use, press “Upload and Create”
The next screen should show that you’ve successfully uploaded the “Customer List” and now have a Custom audience.
Yay!
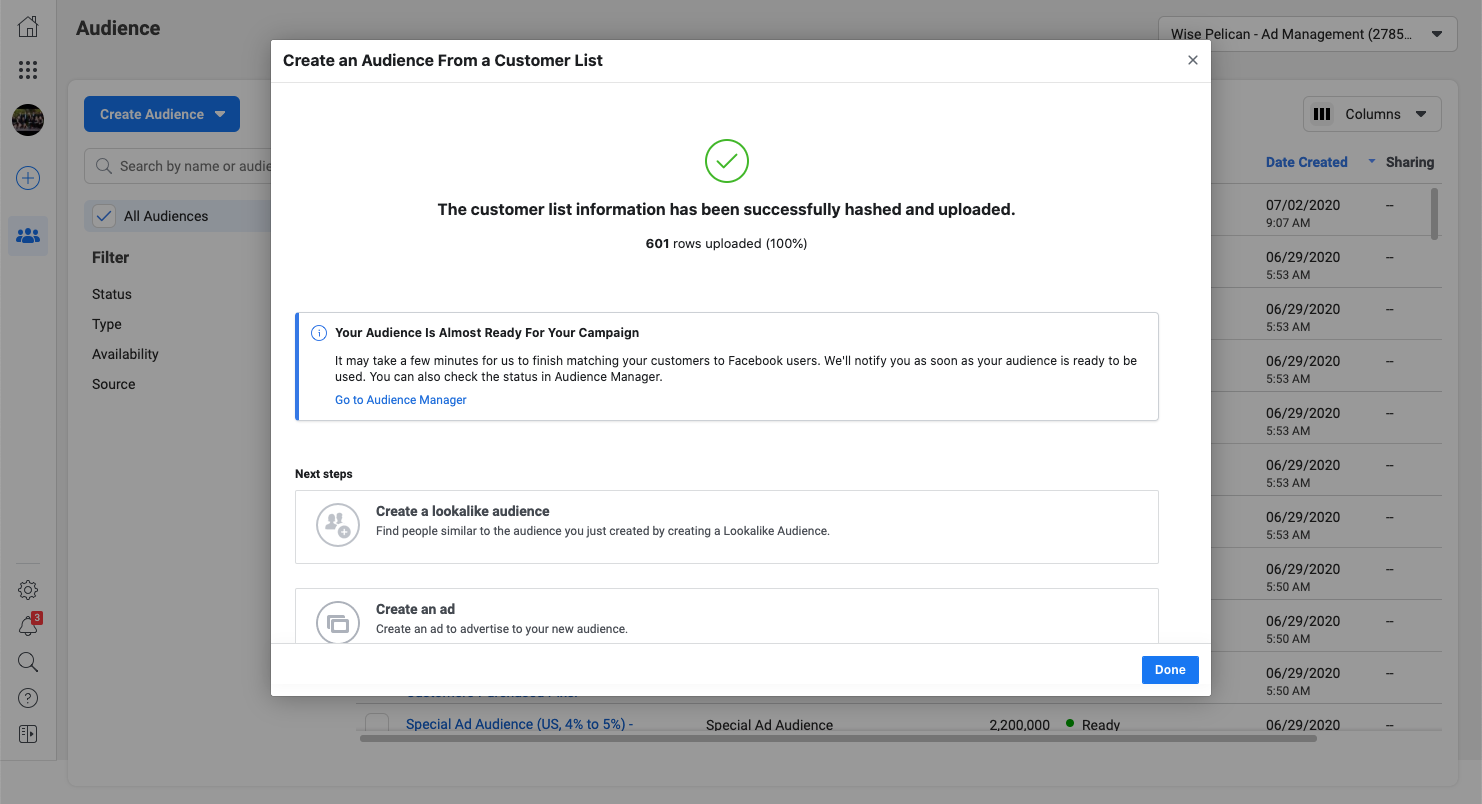
This Custom Audience can now be used when creating new ads.
Using Wise Pelican to Create the Facebook Customer List Custom Audience
In order to utilize this feature, you will need to have a paid Wise Pelican subscription of any level. You can obtain a paid subscription at https://app.wisepelican.com/account/subscription
Once you have a paid subscription, you’ll see that you now have access to a “Create Facebook Audience” button.
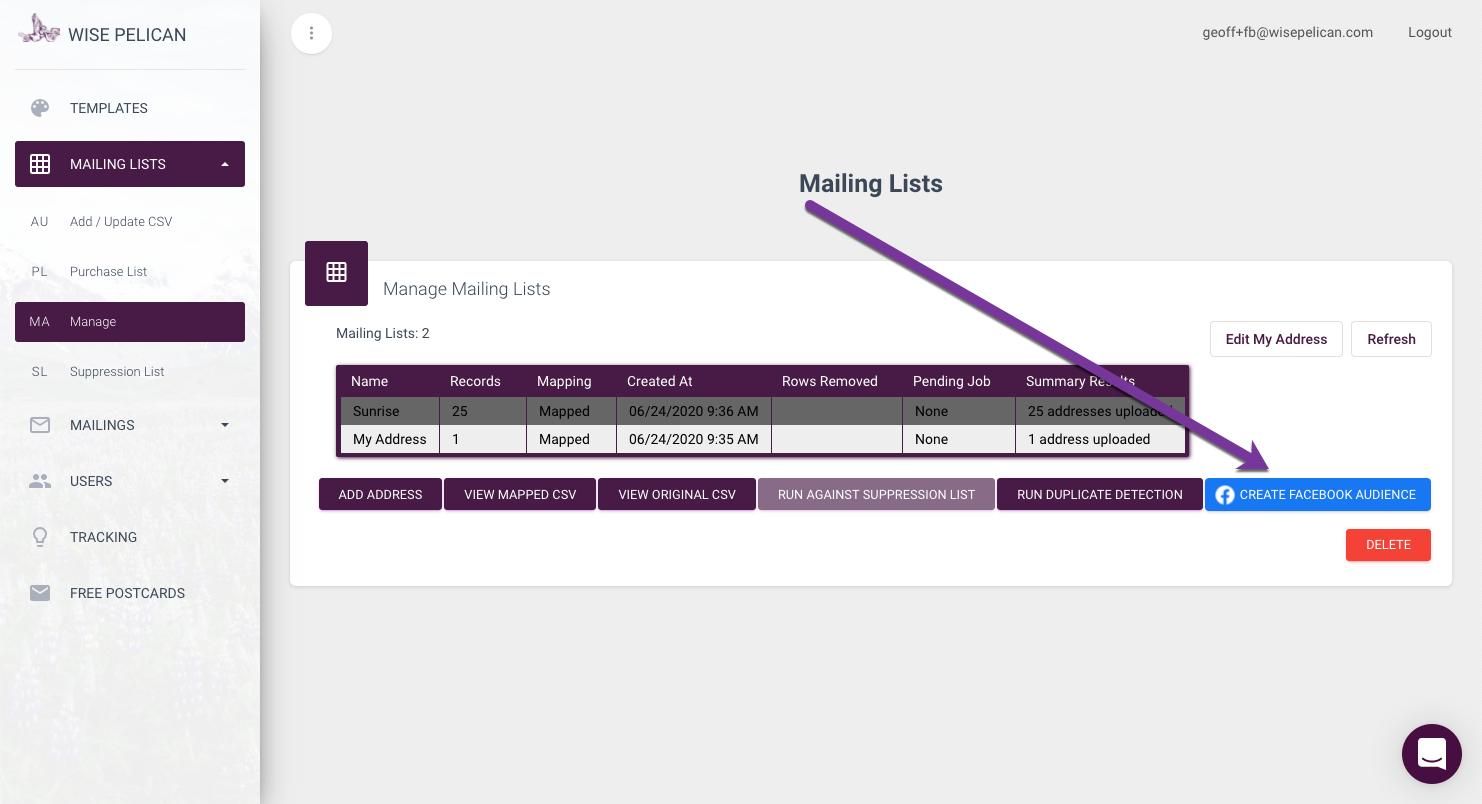
Select any list and click that button. If this is your first time, you’ll be asked to grant Wise Pelican permission to create the audience on your behalf.
Once authorized, you’ll be able to name your audience and select which Facebook Ad Account you’d like the audience to be pushed to (if you have several).
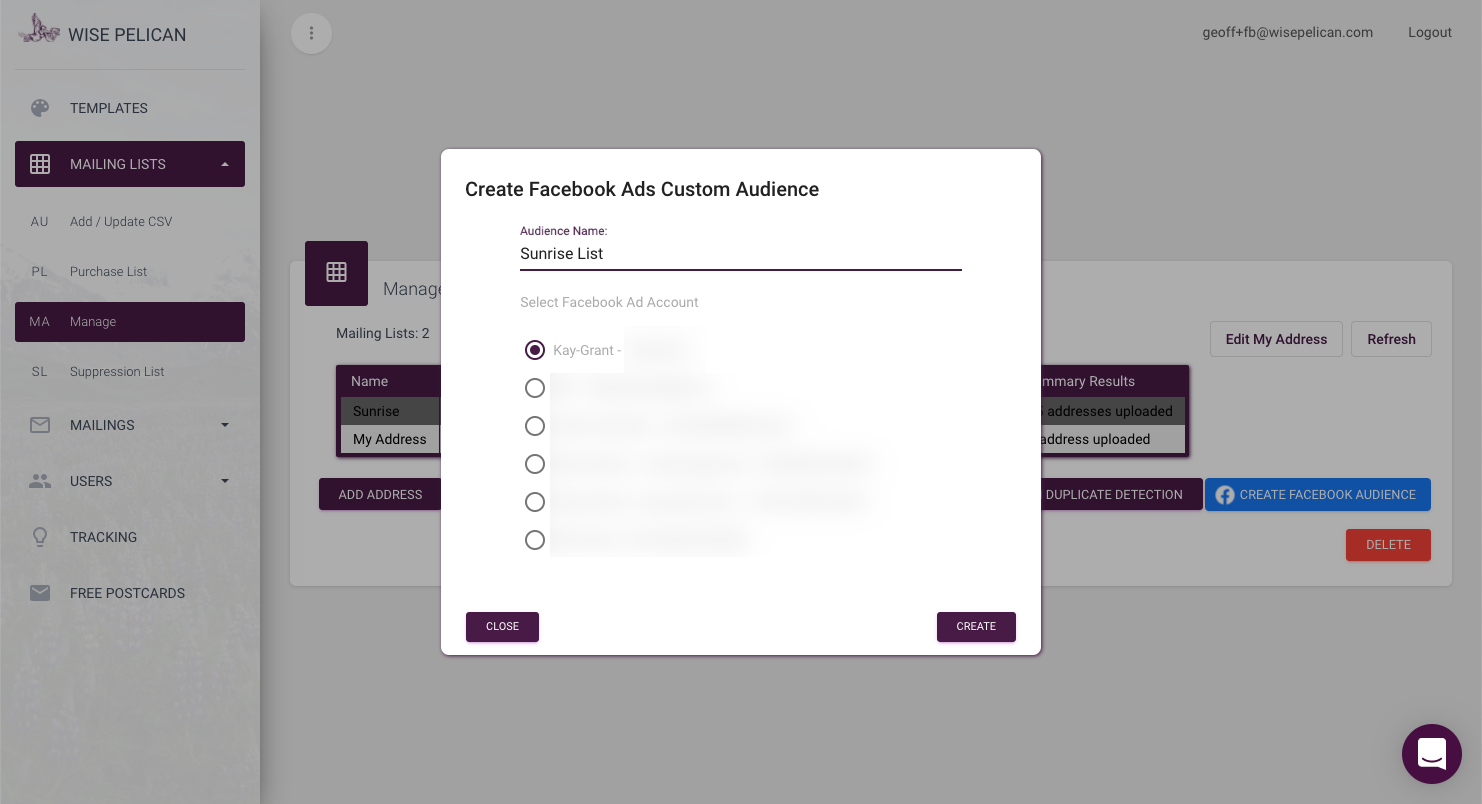
Press “Create” and you’re done!
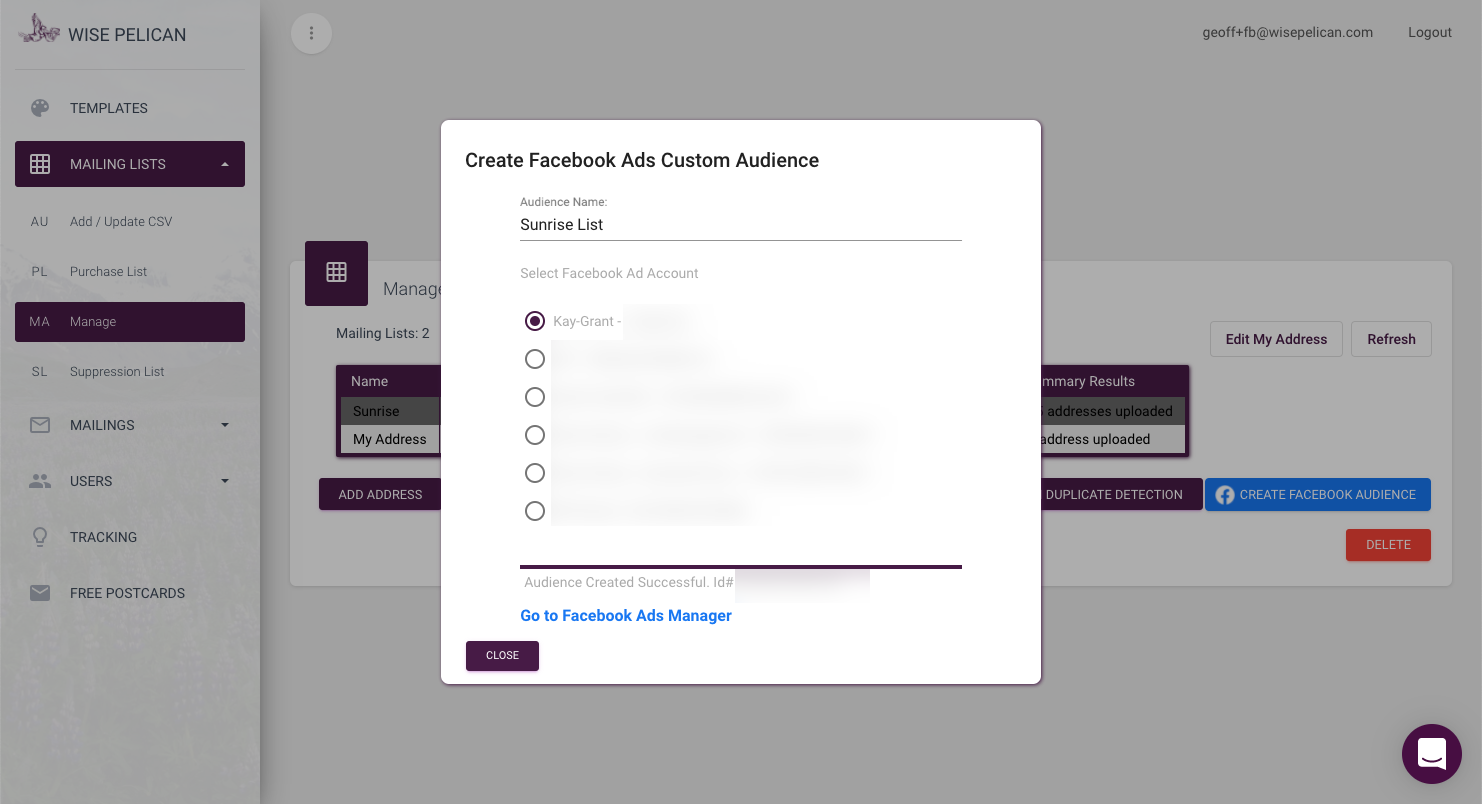
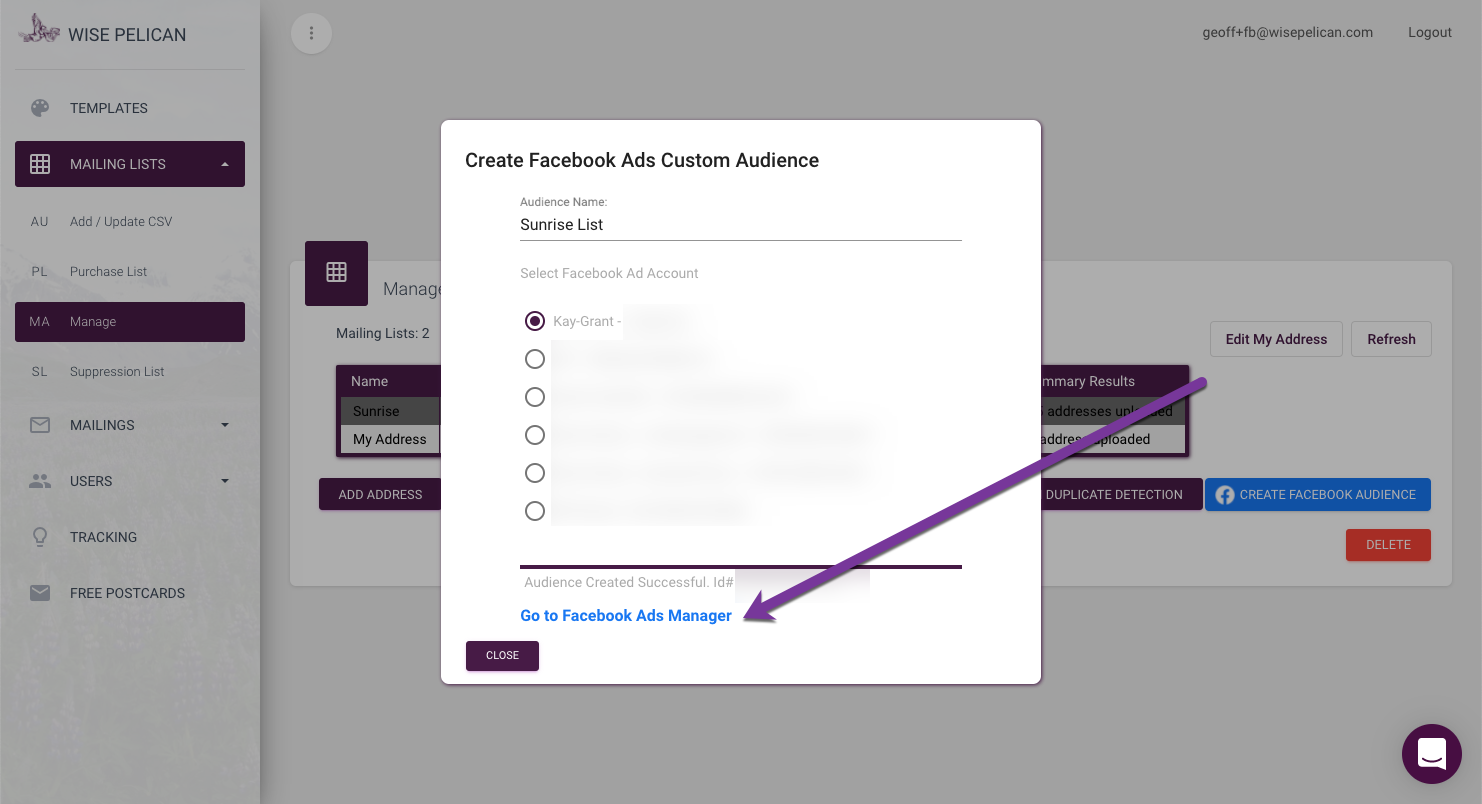
From here you can go directly to the ads manager for your account.
Creating the Facebook Ad From a Post
Please note that when using the “Boost Post” functionality inside of Facebook and selecting that the ad is for housing, Facebook seems to sometimes allow you to choose Custom Audiences to boost to and other times not. The best way is to create a new campaign is from the Ad Manager.
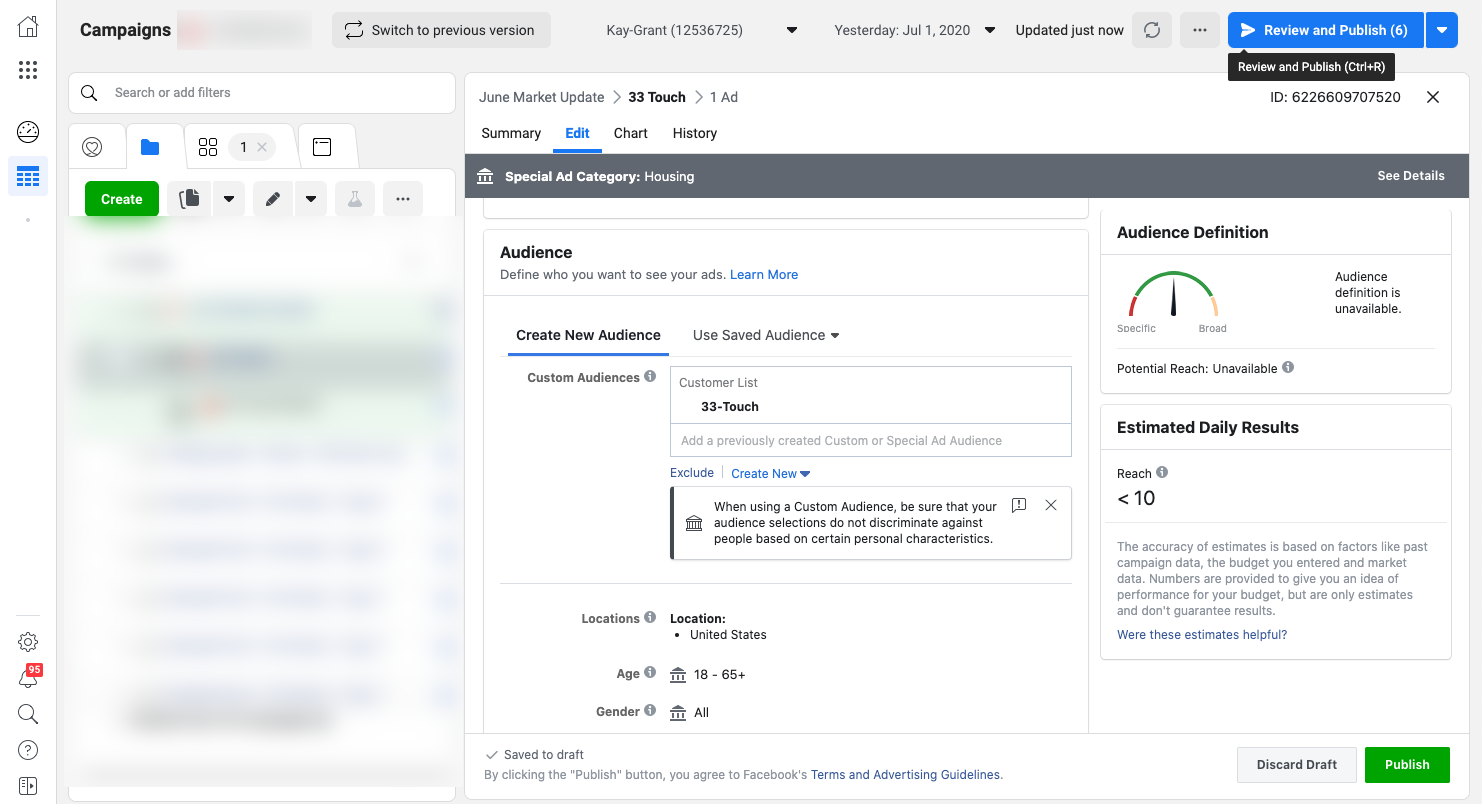
Once you’ve create a new campaign, you’ll go into the Adset and modify your audience to the Custom Audience you previously created.
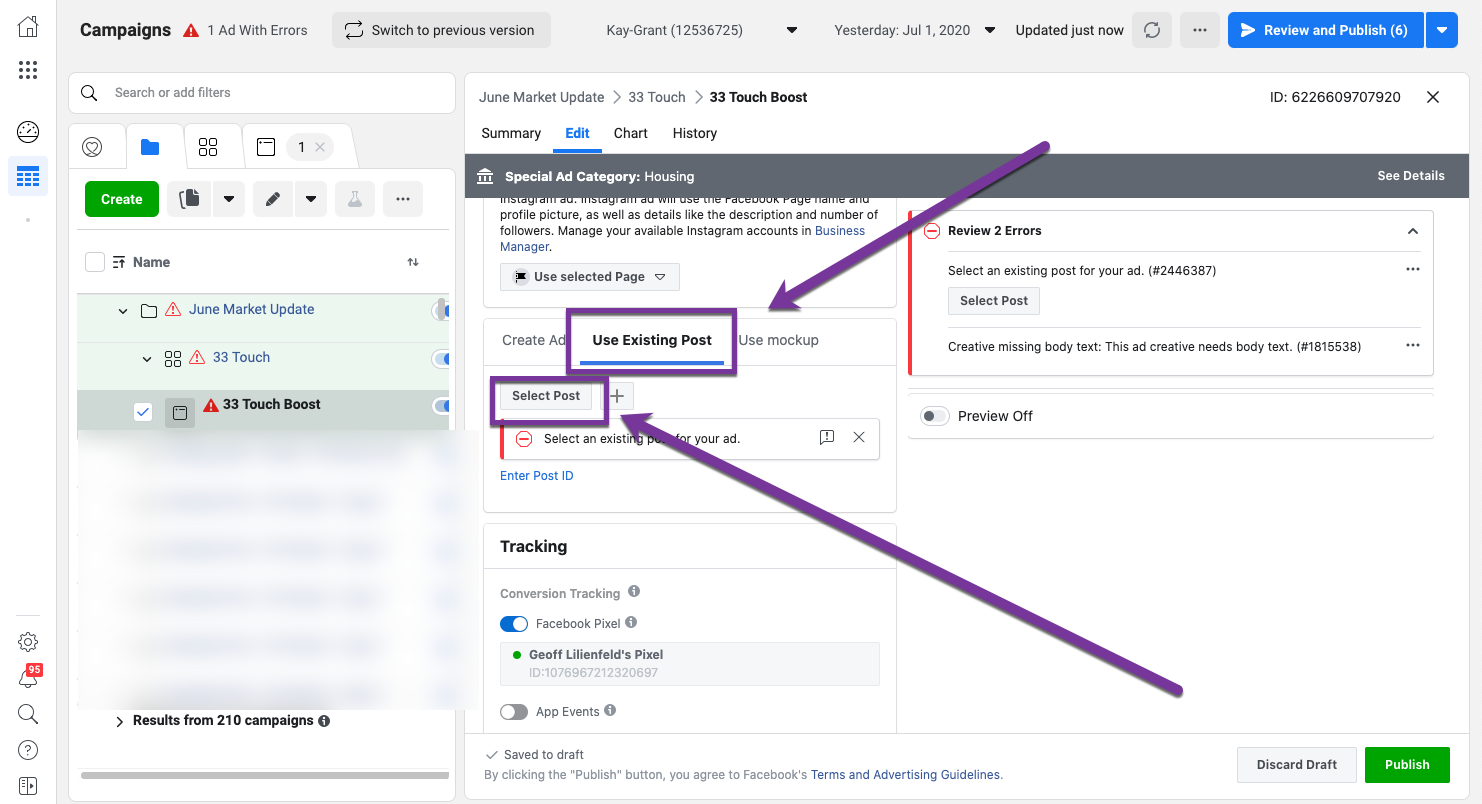
For the ad itself, you’ll select “Use Existing Post” and then “Select Post” to “boost” the post you already created.
 Did this answer your question?